Thursday, September 3, 2020

Common Week 01 — Use of Basic Shapes

 The Assignment

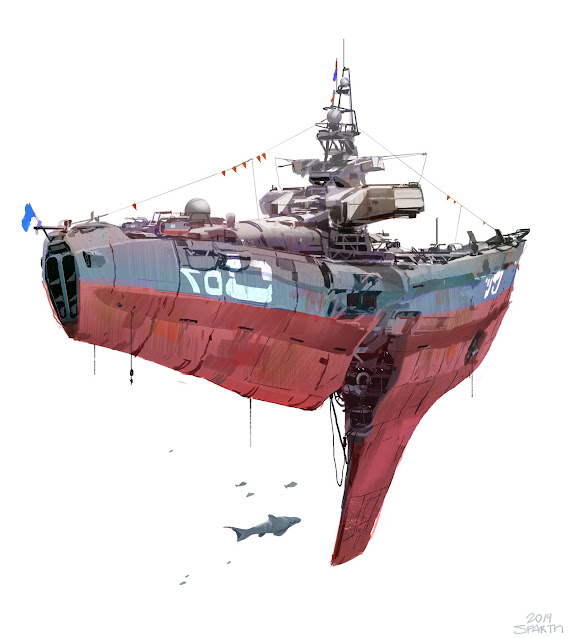
This project focused on using 3D simple shapes to quickly create a piece of concept art mimicking the artist Sparth. We were given 3D shapes to use, and then in Maya we were tasked with blocking out the major shapes, and then detailing and painting it in Photoshop. Below is an image of Sparth's ship, followed by a render of my blocked out ship!


The Process

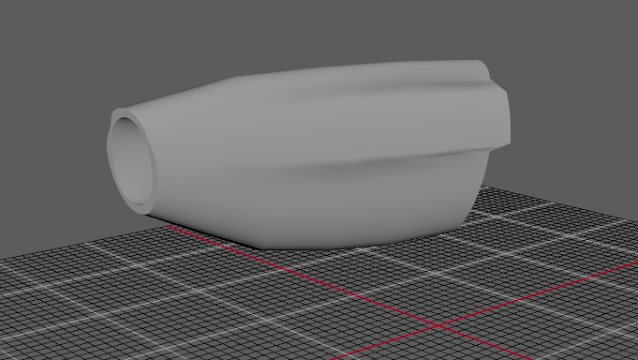
I began by making the hull of the ship, starting with a cylinder, I shaped it using the Lattice tool in Maya, as well as moving many vertices by hand.
 

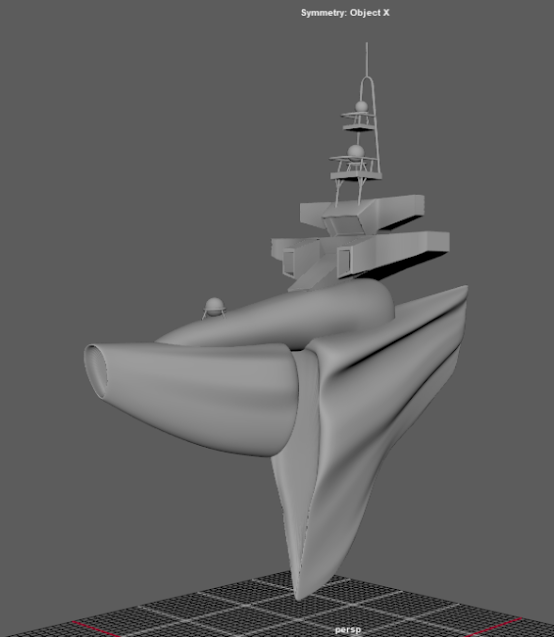
I then expanded upon this idea, bringing the shapes further out and continuing to manipulate them into shape. 
Then, I brought it into Photoshop with a nice render! I started with the background first, after using the new object selection tool to mask off the ship so that it wouldn't be affected by the background painting. I was aiming for clouds or a night sky at this point. 

I started with a base color in order to give it more form, and then added dark lineart around the edges of the form, as well as giving it more details. Finally, at this stage, I added a few more layers of shadows to accentuate the curves of the ship. 

I then added a blue rim light to the bottom edges to show the glow of the light hitting the ship, as well as adding some brighter colors in a color dodge layer to bring forth the light. 

Final Results

Here is the final result! I decided to bring in some lighter colors on the top half of the image and another layer of rim light to the top half of the ship. I then added a lens flair and some movement lines to visualize the ship's movement.



Tuesday, September 1, 2020

Animation Introduction HW

 The Assignment

We were tasked with taking two pre-created models with rigs and move them interestingly within a scene to demonstrate an understanding of Maya's basic animation interface.


Final Results


Sunday, August 30, 2020

3D Week 01 (Unreal Simple Box Level)

The Assignment

For this weeks assignment, we were tasked with developing scale between Maya and UE4, creating a box that was 10x10x10 in unreal units, and then creating an interesting composition with those blocks and a custom material.

The Process

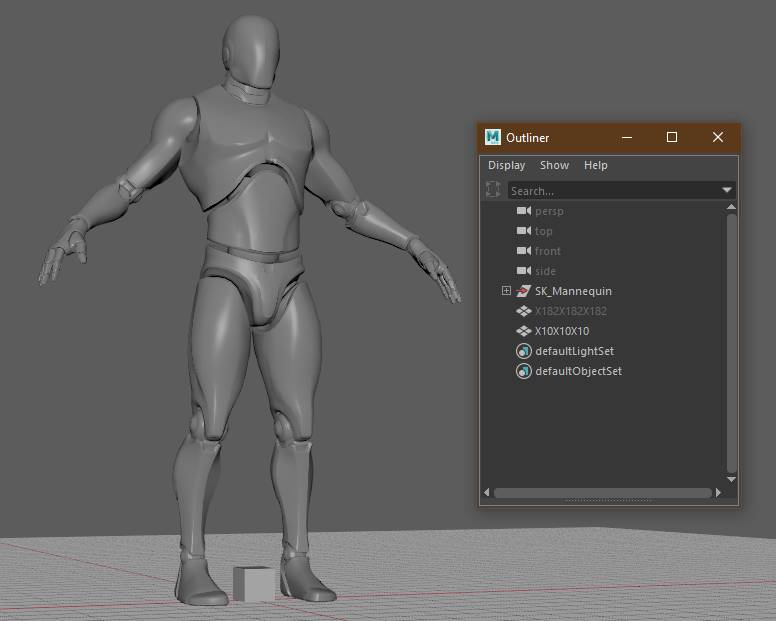
To begin, I brought the Unreal Mannequin into Maya, and then created a nicely beveled 10x10x10 cube to use within UE4 for my composition.


I then brought the cube into UE4 and developed a Material that would allow me to change variables quickly and easily for my composition.


From this point, I used my master cube material to make multiple material instances to achieve the different colors and textures that I needed for my composition.


Final Results

Finally, I took my many cubes and made the below composition!