Showing posts with label 3D Art. Show all posts

Monday, August 2, 2021

Axe Week 03

 Warhammer Axe - Week 03

Schedule

  1. Week 01 - Select Axe, Proxy Modeling ✔
  2. Week 02 - Finish Proxy, Start Sculpt ✔
  3. Week 03 - Finish Sculpt, Start Texture ✔
  4. Week 04 - Finish Texture, Wrap up in Adobe Stager


Maya Game Res:


My Game Res ended up being 5354 Tris

Substance Painter:

Marmoset:


Sunday, July 25, 2021

Axe Week 02

 Warhammer Axe - Week 01

Schedule

  1. Week 01 - Select Axe, Proxy Modeling ✔
  2. Week 02 - Finish Proxy, Start Sculpt ✔
  3. Week 03 - Finish Sculpt, Start Texture
  4. Week 04 - Finish Texture, Wrap up in Adobe Stager

Reference:


Progress:


Sunday, July 18, 2021

Axe Week 01

 Warhammer Axe - Week 01

Reference:


Progress:


Schedule

  1. Week 01 - Select Axe, Proxy Modeling
  2. Week 02 - Finish Proxy, Start Sculpt
  3. Week 03 - Finish Sculpt, Start Texture
  4. Week 04 - Finish Texture, Wrap up in Adobe Stager


Sunday, July 11, 2021

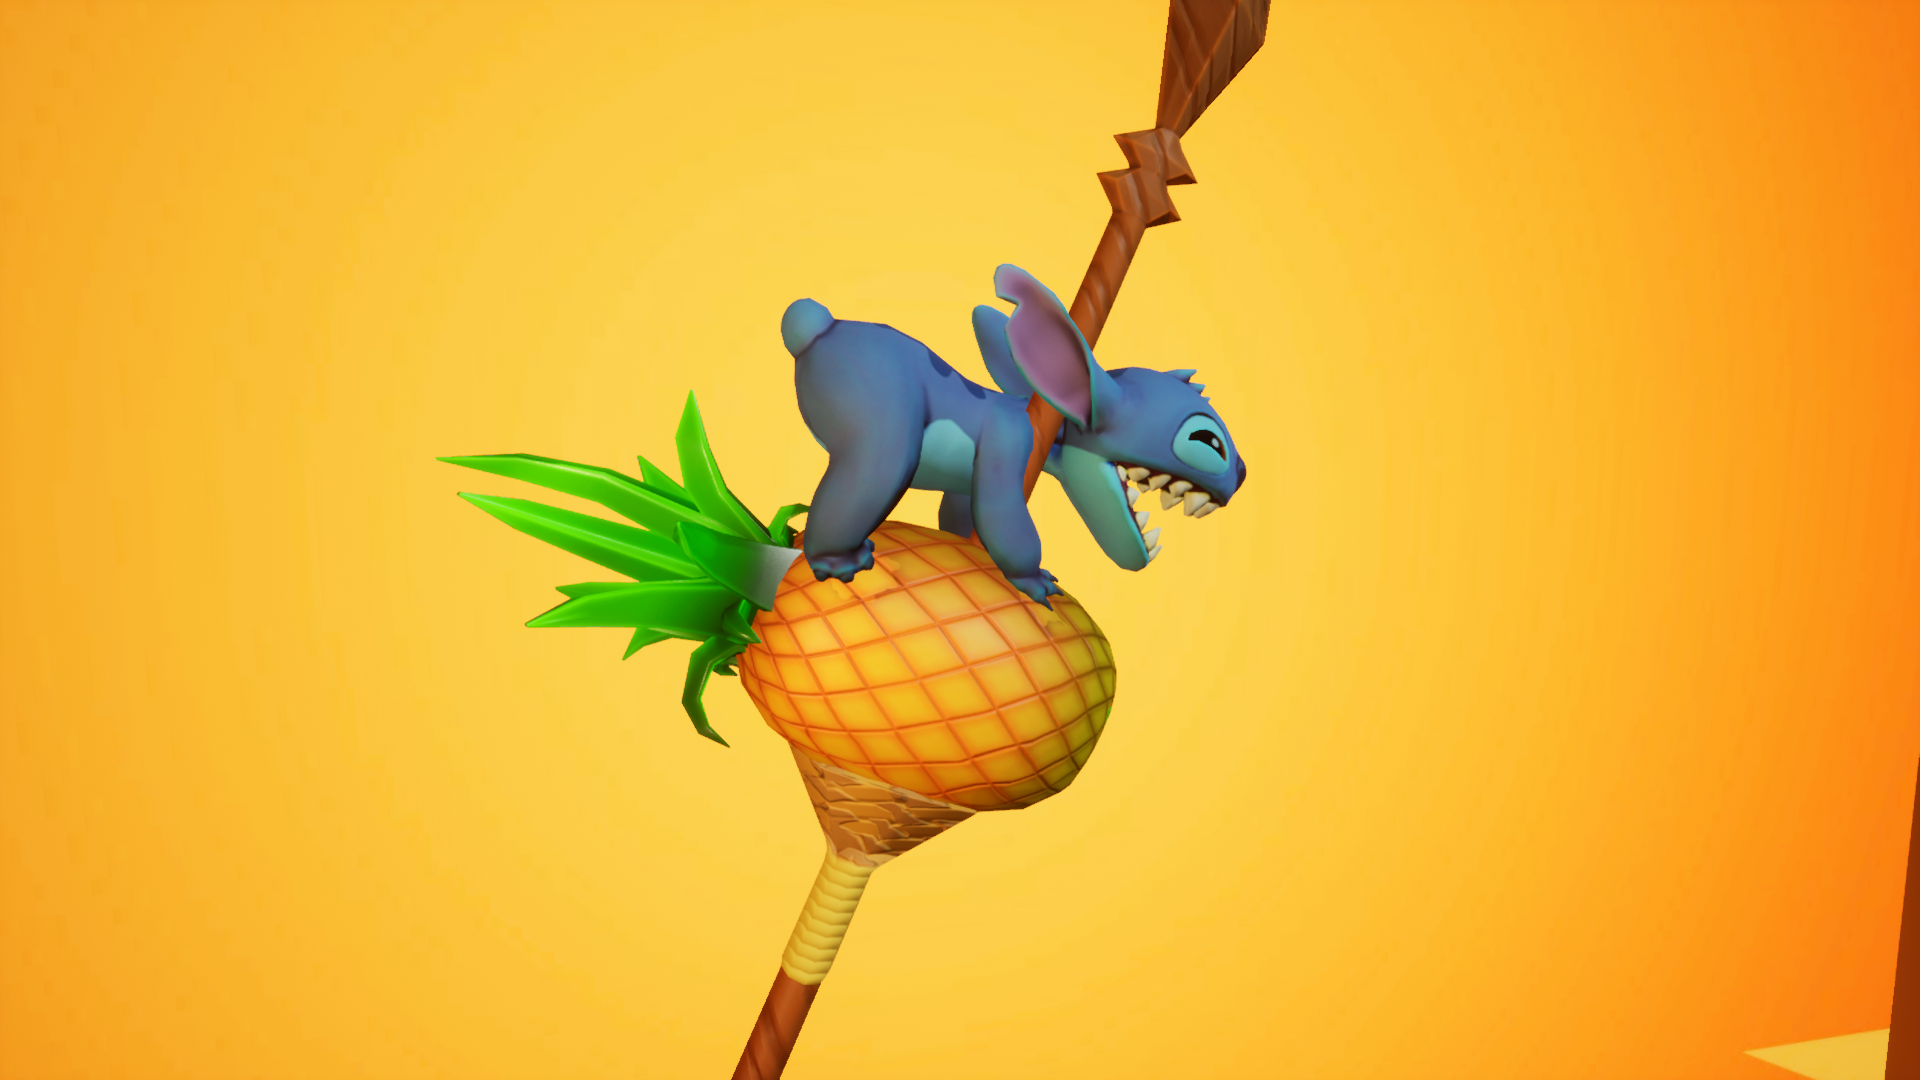
Stitch Week 04

Tris: 7,358 (Target: 7-10k)


Process Images: 
( WIP because this piece still needs work! )


Sunday, June 20, 2021

Stitch Week 01

 Stitch Project

Schedule

Week 01: Gather References, Create Concept Art, Begin Proxy
Week 02: Finish Proxy and Sculpt
Week 03: Finish Game Res, UV
Week 04: Texture & Pose


Sunday, June 13, 2021

Making the Last Week Count

 Making The Last Week Count

This past week I was put into a strange situation where the goal was to gain a portfolio piece within a week to the best of my ability. The class decided that I would be tackling the Strawberry.

Strawberry Progress

Although the initial glance at the Strawberry had me believing that the sculpt was done, I then realized that it was far from perfect. The sculpt as it currently was, was not good enough. It was low-res and haphazardly put together because it had been a speed sculpt for a common art project in the first semester that would only be viewed from one single side. 


I adjusted some of the sculpt and began rebuilding parts of it so that it would be more presentable, but realized that I should get more of the process done than just the sculpt, so I moved on to the retopo process so that I could get a game res of this object and establish a pipeline.


Just another render in Zbrush


The retopo process took quite a bit of time because of the lack of symmetry on the entire object. The game res ended up being 5,173 Tris.

I then auto-UVed and began getting a bake done in Substance Painter


However, my first priority was to get a job. So, I pivoted a bit this week in order to try and get a portfolio piece that would specifically suit the needs of an open position at Imangi Studios, the company that makes Temple Run.

UI Adventure

One of our fellow students at FIEA recently landed a job as a producer at Imangi Studios, and she highly recommended that I apply as a UI Artist for the company because their artists in-house often wear multiple hats. Although I would get a job as a UI artist, I could be doing any multitude of things. For the last two months there has been a large group of FIEAns (15 of us) who have been preparing to participate in this weekend's Game Maker Toolkit (GMTK) Game Jam. I was the Art Lead on the project and I focused on UI for the entire experience. I also helped with the creation of the game idea itself and it's design.

Although it wasn't 3D, and although it may not be considered the "best" use of my time, this extra bit of experience in this 48 hour game jam did give me several things:
  • A UI portfolio piece
  • Experience in a large Game Jam Team
  • Another "Art Lead" project
  • Opportunity for employment
I first delved into a bit of research (1 hour max) of what logos within the space we were trying to aim for looked like. I looked into low-poly gaming experiences to see what their logos resembled. We then also settled on a style for the slimes that would be the center of our game, which was to match the Epic Game's Fortnight SLURP skins. From this, I was able to begin creating our style of UI!


Here's the UI that I created!

Final Game Logo
I focused on creating layers and structures within photoshop that would allow me to easily create a wide variety of things within a very similar style to what I was creating, while also allowing it to be highly iterative with color-layers so that I could change the colors on the fly as needed.


For the game's buttons, I created an "off" and "on" state so that when the mouse was hovered over it, it would change and look highlighted. It is a very small difference that is really only noticeable in-engine when it is working, so here I have showcase the "on" state of the buttons.
Here is the health UI Icon

Here's the controller layout!


You an view the game on itch.io as well as on the Game Jam's page. 


Main Itch Page


Tuesday, June 1, 2021

Backpack Project Week 02

 Backpack Project Week 02

The rate at which I was learning information from the tutorial that I had originally intended to follow was not sufficient for the accelerated pace that this project needed to undergo, so I had to give up learning the program slowly in favor of experimentation, trial and error, and generally just winging it to see if something would work out.

After hours of crashing, dealing with what the program could and couldn't handle, and lots of inside out materials that made the entire model explode, this is what I ended up being able to create.

I wanted to focus on what I believed to be the most difficult part of the backpack to achieve, the rings at the top that are cinched using a rope. It turned out being extremely difficult, but here it is! I also got a single pocket on and began to learn how to make creases and folds to properly reflect the way I wanted the material to bend.


This lack of progress sets me behind in my accelerated schedule of learning & doing, so I'll have to crunch hours this following week in order to make up for the lost time from learning.


Sunday, May 23, 2021

Backpack Project Week 01

 Backpack Project

The goal of this project is to create a hyper realistic game-ready backpack asset that has realistic wear and tear on it! I'll be making the backpack inside of Marvelous Designer, a program that I am NOT familiar with it all. In order to get familiar with the program, I've gotten my hands on some tutorials to learn the interface and the language associated with the program! It has a lot of things that other programs do not and a lot of terminology that I think it usually used with seamstresses and tailors.

Learning Marvelous Designer

In order to keep track of what I've been learning, I've been taking very specific notes on the entire process! I plan on organizing these notes further and creating "one page designs" to showcase some of this learning material in the future so that it's easier for others to learn after me!


As of writing this post I am currently on Video 11 - Garment Fit, so any information on this document after that are things that I've been adding as I've been learning more!

Gathering References

I found a backpack online that I think has a great amount of folds and various textures to keep things interesting while I work on this project! 


The Plan

Week 01 — Learning Marvelous, Collecting References!
Week 02 — Create Pattern in Marvelous, begin learning how to transfer to ZBrush & Maya for Retopologizing
Week 03 — Retopologizing, UVing, Texturing
Week 04 — Texturing, Final Renders in Marmoset, finish MD Guide (Maybe)