The Assignment
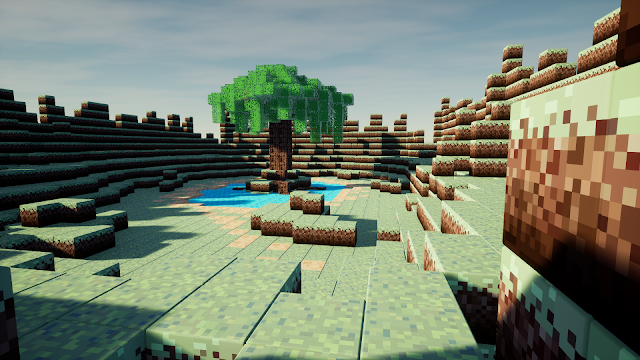
Our assignment was to create a block in Maya based on the specifications given and develop textures to go along with it to create a Minecraft-ish scene in UE4. The purpose of this assignment was to demonstrate creating textured models and implementing them into UE4.
The Process
To begin, I made a cube in Maya and then beveled it to give it a nice rounded edge, contrary to Minecraft's crisp edges. Then, I adjusted my UVs and checked that they were functioning within Maya.
Here are my UVs as well as the texture above that I used to test it, which I created in Photoshop.
From here, I created several renditions of textures that I knew would be needed for my project. I had at this point decided to do a lake with a tree, so I knew that I would need grass, sand, water, tree trunk, and leaves. I used the Filter -> Offset to ensure that my textures were tileable, and I used Filter -> Pixelate -> Fragment in order to help quickly render out pixelated textures.
The next step was to get everything functioning within UE4. In order to do this, I had to go to each Texture and set the Filtering to Nearest Neighbor to maintain the crisp pixel appearance. I set up one main material, shown below, to use for the sand, water, grass, and tree trunk.
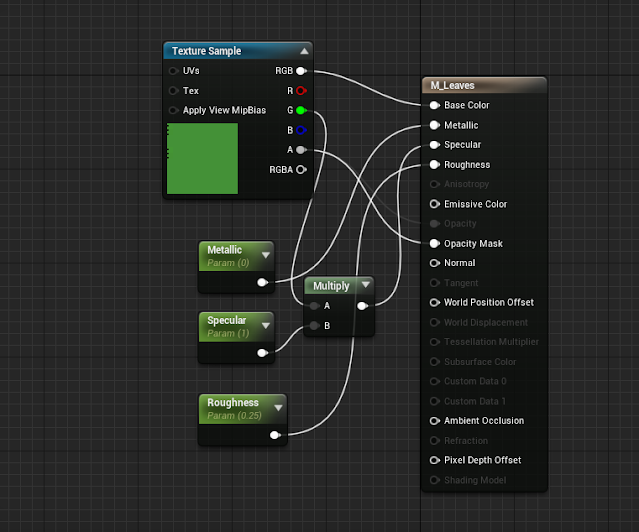
I had to use different settings to get my leaves to show up transparent. Under the Material's Details panel on the right side of the material editor, I changed the Material -> Blend Mode to Masked, and then set the Alpha channel of my texture to the Opacity Mask node.
From this point, I took my blocks into my level and began to place them to create the scene I had envisioned!
Final Results
Here are some screenshots from the final results!


No comments:
Post a Comment