Monday, September 28, 2020

Crate Project Week 01

The Assignment

We were tasked with following along with a video tutorial on how to make a game-ready crate. I wanted to take the assignment a step further, so I decided to elongate the crate and begin building a proxy model of a velociraptor to go inside of it.

The Process

The first thing we needed to do was establish scale between the UE4 mannequin and our object in Maya. 

Then, I proxyed out a crate and brought it into UE4 to ensure that the scale was correct, which it was!

I then created a slightly higher resolution crate for the purpose of bringing it into Zbrush for sculpting next week.

Final Results

Here is the crate with wireframe turned on!

Here is the proxyed velociraptor that is going to be going inside of the crate!

Thursday, September 24, 2020

Use of Basic Lighting in Maya — Week 04 Common Art

The Assignment

This assignment was to learn how to set up a professional 3 point lighting set up in Maya to showcase our artwork.

Final Results


Monday, September 21, 2020

Lego Blocks Part 2

The Assignment

Our assignment was to select a lego set, build out the pieces in Maya, and render the creation in UE4 alongside a creation of our own! Below is the Lego set that I selected.

The Process

I first began by blocking out the shapes in Maya, and then from there I brought them into UE4.


Then, I built my ship in a scene and converted it to a Blueprint so that I could easily manipulate it with edits as I fixed some of my geometry to properly fit together.

Next, I built out my materials! This is my Master material that I edited for all other materials, and below it is the settings that I changed on this material to get the see-through appearance of my see-through pieces.

The same information as above, but instead of 'Clear Coat' as the Shading Model, I instead used 'Subsurface'!


I wanted the ships to rotate so I did so using an on event tick that rotated the object on it's Z-axis.

Final Results


Thursday, September 17, 2020

Common Art Week 03 — Use of Value and Contrast

The Assignment

This week the assignment that we were given was to assign value and contrast to a predetermined 3D environmental piece. We used the Arnold Render tools to create several passes of information to be brought into Photoshop and manipulated. These included a Normal, ID, Ambient Occlusion, Outline, Depth, and Beauty pass.

The Process

I started first doing a color pass to see what colors would work well on the ship itself.

I then began to add in some of the background pieces, including a cloud texture on the ground to give it a feeling of depth.

Next, I added in some preliminary background colors and further shadows to add more depth of field. 

Final Results

To finally give more life to the scene, I added lights to the faces of the robots, and accentuated the lights on the vehicle.

Monday, September 14, 2020

3D Art Week 03 — Lego Blocks Pt 1

The Assignment

We were tasked with choosing a lego set from a predetermined list of six designs. Then, we had to take each of the pieces that made up our lego set and model them in Maya, with the intention of bringing them into UE4 for the second part of this project and piecing them all together.

The Process

I chose this design to do for my project.

Final Results

Unfortunately, I was not able to create all of my lego pieces within the time allotted, but will make up for this by creating them the following week! I am missing the red blaster piece, the L shaped piece, and the wing pieces.


Thursday, September 10, 2020

RPP — Round 1, Paper Prototype "Gravity Racer"

The Assignment

Our assignment was to create a Paper Prototype of a game using Tabletop Simulator. We were grouped into 4-5 person teams and given one week to produce a game.

The Process

Our group utilized mind maps at first to develop the ideas for our game. We came up with approximately five different ideas first, and then from there narrowed it down to one idea. The idea that we came up with was a BMX Moon Racer game. From there, we developed a paper prototype using Tabletop Simulator to demonstrate how our game would run. For this project, I created several of the 2D assets that were used during our presentation.

Final Results

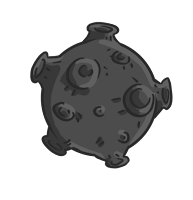
The asteroid obstacle, the beam that would save players who had fallen off of the map, and the Golden Moon pick up, which if you obtained three, would make you invincible for a short period of time

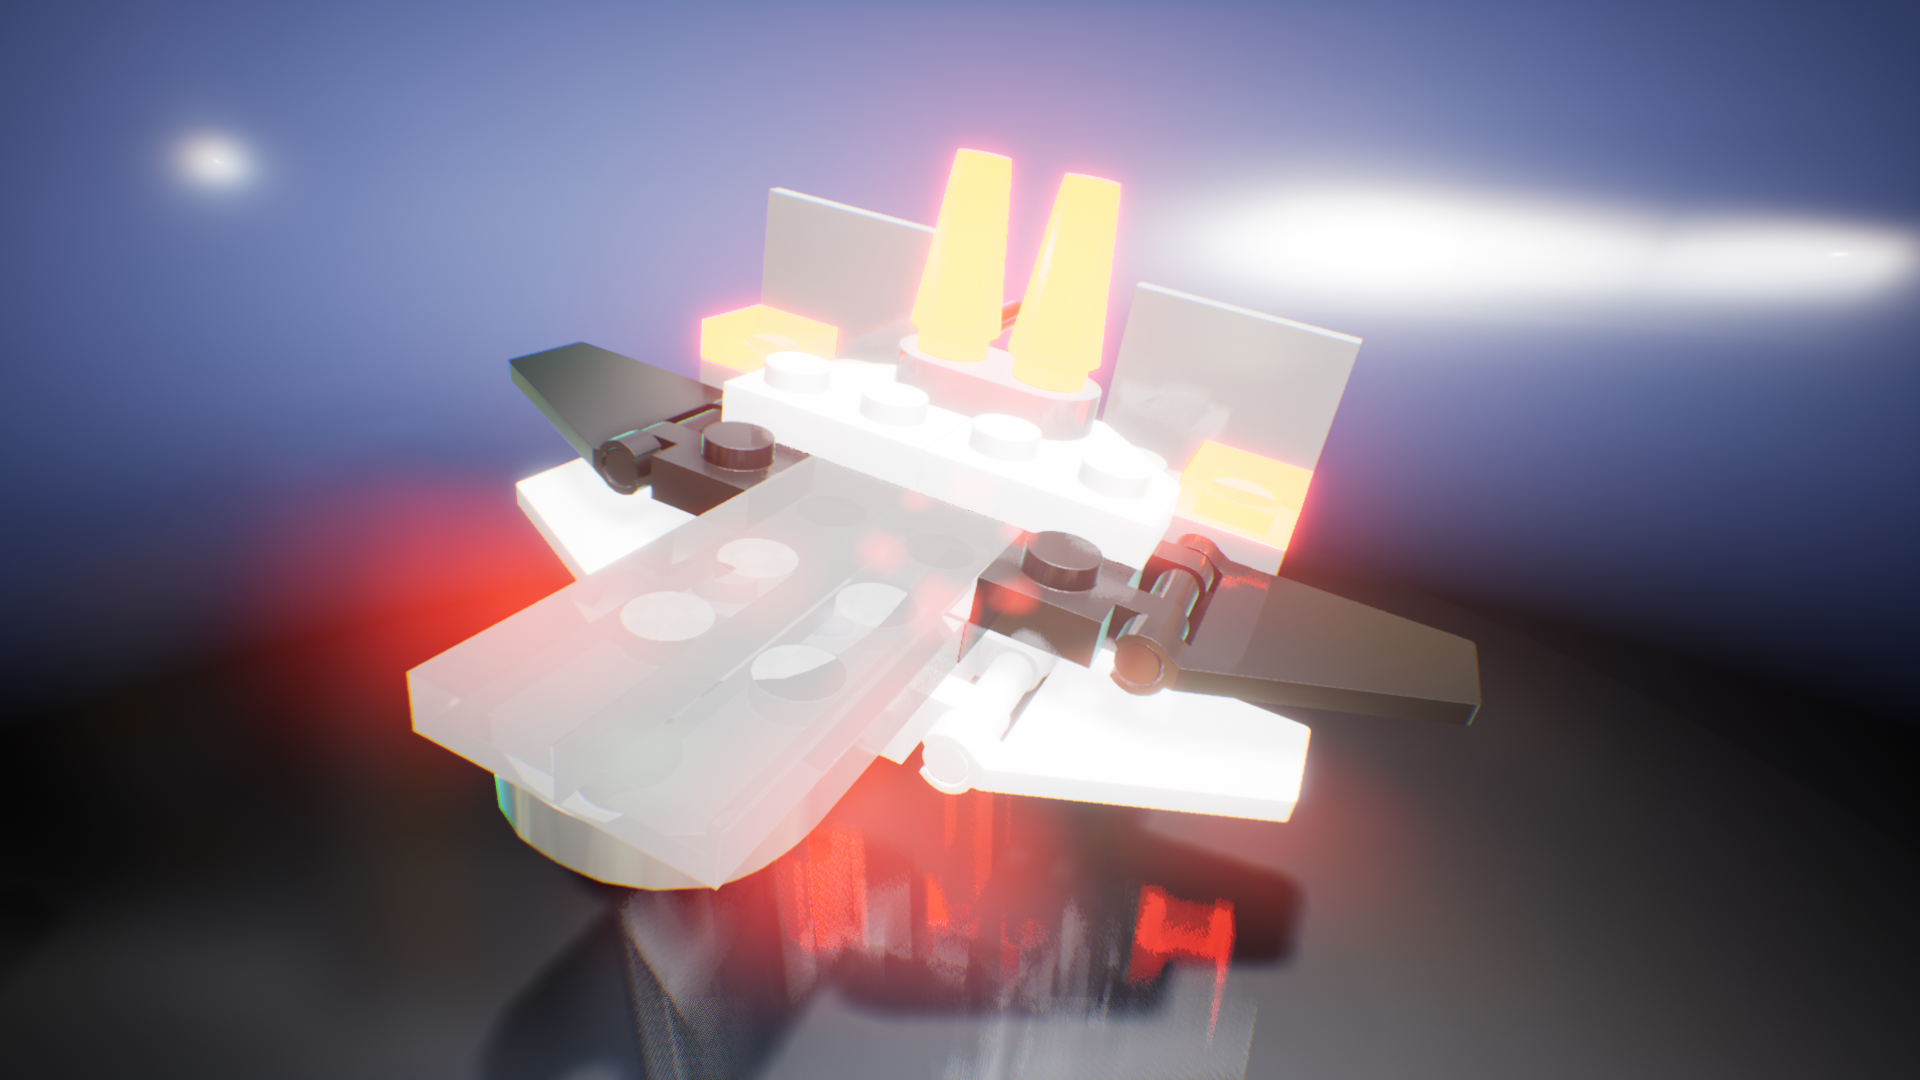
An example of a jump used for our game.

The Finish Line for the game!

The Winner's circle. The different racers would sit on these platforms to showcase who got into the top 3 positions.

Our game had a lot of character and cart customization. This example shows a player with a lizard head, octopus arms, and cat legs, with a cart that has the basic body, button wheels, and a basic booster. Then it is the same character, but with the raygun picked up and utilized on their cart!

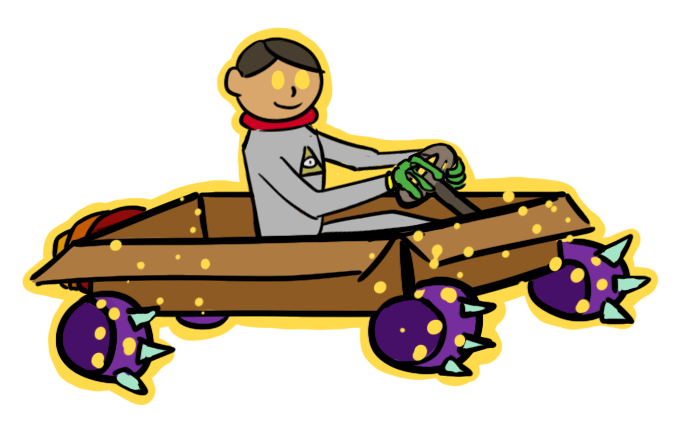
This is another example of our character creation process. This character has the human head, lizard body, and human legs, with a cart that has a cardboard box body, spiked wheels, and a collapsable booster. Then it is the same character, but with the golden moon invincibility activated.

Here is another example of a character! This one had a cat head, human arms, and lizard legs, with a bubble cart, with regular wheels, and the tri-booster.

Here is the raygun pick up, and  the booster fuel pick up.


Animation Week 02 — Bouncing Ball

The Assignment

Our assignment was to create a bouncing ball animation using the given ball rig that bounced at least 3 times, with squash and stretch.

The Process

I focused first on ensuring that the ball was bouncing at the times that I wanted for each down and up pose, and then between those I started to rotate the ball on each bounce, trying to avoid it sliding. From there, I began to then work on the squash and stretch. At first, I thought that the stretch should happen on the point where the ball was highest, however that looked very wrong. So, I did some research and I found that the stretch should be at the point right before the ball hits the ground. With this edit, I was able to create the video shown below! 

Final Results